
It's hard to find a nice double-sided Christmas tree topper that lights up for less than $50, so I decided to make one with supplies from around my house plus a few small purchases! If you're a habitual crafter like me, this project may only cost you a couple bucks at the dollar store because you probably already have most of the supplies.
 I was originally inspired by the Bethlehem star tutorial here, but I wanted a 5-point star, I wanted it to be double-sided (so my tree looks nice in the window too), and I wanted GLITTER, so I made several changes. If you're looking for a star of Bethlehem for your tree, you can use their great tutorial!
However, if you want a glittery 5-pointed, double-sided light up tree topper for cheap, read on!


Cut along your trace lines using the X-acto knife and ruler to keep your edges straight.

.jpg)

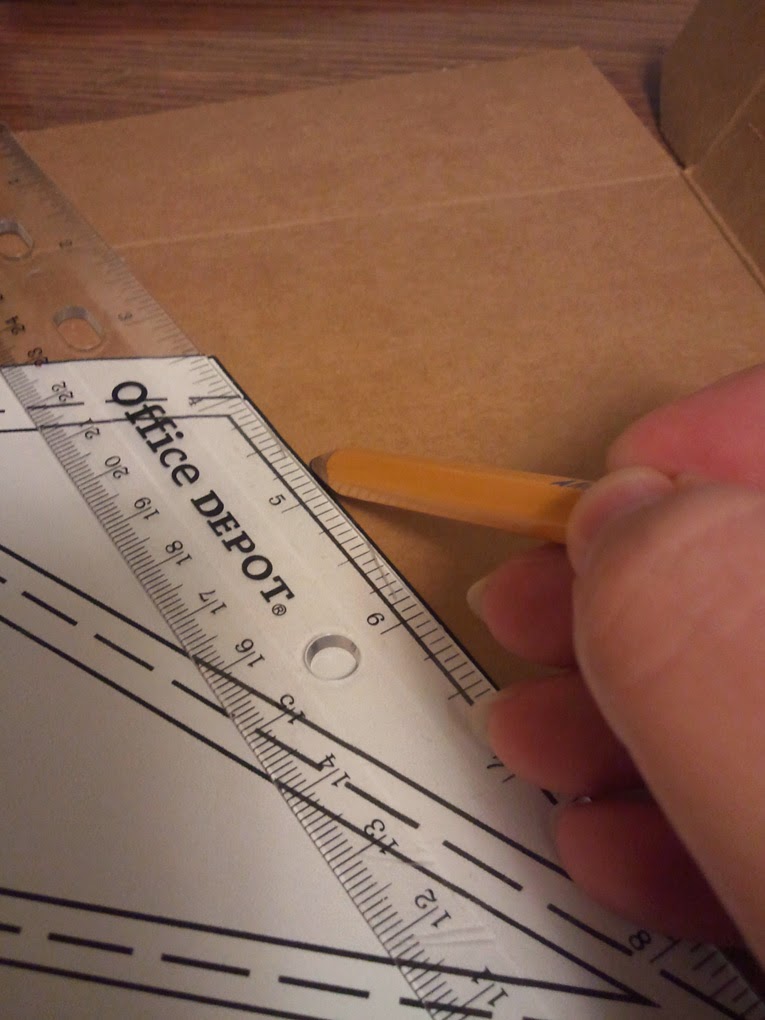
Next, using the stencil as a guide, copy the inner lines onto your cutout using a ruler.
.jpg)
One trick I used was to cover the cardboard cutout with the stencil and then press down on the corners with the point of your pencil to mark where to draw the lines.


Next, score the dashed lines using your X-Acto knife. Don't press too hard or you'll cut it all the way through! You just want to lightly score the cardboard so it folds nice and neatly. Use your ruler to keep the lines straight.
Always keep the majority of the cardboard under the ruler for maximum control over your project.


When you're finished scoring, fold along the scored lines. This step is important because once you cut out your "windows," the structure will weaken and it will be much more difficult to fold the cardboard properly.
.jpg)
Next, use the stencil again to mark the corners of the windows and then draw the window lines with your ruler.
( Note: You may want to adjust the size of your windows because the smaller they are the easier they will be to work with. I wanted nice thin lines so I kept them thin but it did require some extra patience.)
.jpg)

Use your X-Acto knife and ruler to carefully cut out the windows.
You can use a thick piece of recycled cardboard as a cutting mat, or you can use a cutting mat if you own one to protect your table/desk/work surface.


Now that you've made your first point, you can draw the lines for the others all at once, being careful to score the correct lines and do your folding before you cut out the windows.

Now, repeat these steps 4 more times to make a total of 5 points!

Next, we need to make the cone that will help support the star and hold it on the top of the tree. Take a new piece of cardboard and cut it into a rounded triangle and then roll it into a cone shape. Apply some E-6000 or hot glue to the edges and use binder clips and masking tape to hold it while it dries.


Put masking tape on the tabs to protect your surfaces for the glue later. Make sure the cone's glue is dry. We're about to glitterfy our star!


Pour some Mod Podge into a bowl and add your glitter. Stir it with your paintbrush and paint it thickly onto your star points and your cone.
.jpg)
.jpg)
.jpg)
After about 15 minutes, remove the masking tape.
The Mod Podge won't be completely dry yet so this will help prevent cracking or flaking (which might occur if you let it dry completely and then remove the tape).

Next, use the leftover cardboard from the window cut-outs to trace a slightly larger shape onto some parchment paper for your windows. You will need 20 total.

.jpg)
Cut them out and attach them to the inside of your dried star points. E-6000 Quick Hold works best.
.jpg)

Now you've completed a star point!
.jpg)
Repeat 4 more times and then glue the sides of ONLY THREE of your star points together with your E-6000.
You can use rubber bands here to help hold it together while it dries.

Why only three? I show rubber bands around all 5 in the picture. That's because I did it wrong at first, oops! We learn as we go. You want to leave two of the star points open so that when you glue the whole thing together you can easily insert and arrange your lights within the star. It also provides an important opening for your cone. So, don't do what I did. Only glue three of them. :)
Then glue those three star points together, using your binder clips to hold the points together while they dry.
.jpg)

Thread the LED light strand(s) through your glittery cone and insert them into the star making sure that the battery case (or plug) is threaded through the bottom of the cone first. Only one light strand is shown here but in the end I used two. They were only $1 at Dollar Tree.
Optional: If you're particular about where the lights are positioned, you can use binder clips to guide the lights as you like. I did this at first but in the end, I found that stuffing 20 or so lights in there worked just as well for me.

.jpg)
.jpg)
Attach the last two points of your star, keeping the 2 open seams facing down.

Insert your skewers into the cone and up to the top of the star to keep it upright. Use additional skewers as needed to balance the star on top of your tree.
Flip the switch to turn on your lights and that's it! You're done! Now you have a beautiful glittering lit star that you can be proud of. :)

 To make this glittery star, you'll need the following:
- Recycled cardboard boxes (thin, like cereal or pie boxes)
- Parchment or Waxed Paper
- Glitter
- Mod Podge
- Set of 10 to 20 LED Christmas Lights
- Star stencil
- X-acto knife or other sharp utility knife
- Pencil
- Ruler
- Glue (E-6000 Quick Hold preferable, hot glue or tacky glue will also work)
- Scissors
- Paintbrush (or foam brush)
- Masking or Painters tape (not pictured)
- Long bamboo skewers (not pictured)
- Small binder clips (if not using "Quick Hold" glue)
- Rubber bands (optional)

 I got a nice string of 10 battery-operated LEDs at the Dollar Tree. In the end I decided to purchase yellow ones to match my tree better. I also discovered that my star lit up best with at least two strands (20), but that will depend on the size of your star. Dollar Tree also sells white, blue, red, and yellow LED lights during the Christmas season. If I were to do it again I would choose white and red.
Mod Podge and E-6000 Quick Hold you will probably need to buy from a craft store, but the rest of the supplies you can probably find around your house or in the dollar store.
Stencils:
I've made three different print-ready sizes for your convenience. I used medium for my star and the width of my star is 13 inches.
7.5" Large (for a very tall, 9+ ft tree)
6.5" Medium (for a 6.5-9 ft tree)
5.5" Small (for a 4-6.5 ft tree)
Large Medium Small
Enjoy your beautiful DIY home-crafted double-sided light up 5 point tree topper!
